博主今天发现一款不错的探针,哪吒探针,于是博主联系到了开发者。开发者很懒,也很皮,教程?问就是没有,主机资讯接下了这个苦差事,帮忙写教程。。。
哪吒开源探针:https://github.com/p14yground/nezha
探针分为dashboard面板和agent客户端,只需要简单编译即可获得。
安装编译所需依赖:
yum -y install wget git gcc make
安装go编译环境:
wget https://golang.org/dl/go1.15.3.linux-amd64.tar.gz
tar -C /usr/local -xzf go1.15.3.linux-amd64.tar.gz
echo “export PATH=\$PATH:/usr/local/go/bin” >>/etc/profile
source /etc/profile
编译dashboard:
git clone https://github.com/p14yground/nezha.git
cd nezha
go mod tidy -v
go build cmd/dashboard/main.go
然后主目录会生成一个main的可执行文件,在/root下创建两个目录用于存放编译好的dashboard和agent,并把编译好的dashboard移动到对应目录。
mkdir -p /root/{dashboard,agent}
mv main /root/dashboard/
编译agent,一句话就好了,生成的二进制文件也移动到agent目录方便以后直接用:
go build cmd/agent/main.go
mv main /root/agent/agent
编写dashboard配置文件:
cp -ra resource /root/dashboard/
mkdir /root/dashboard/data/
vi /root/dashboard/data/config.yaml
debug: true
httpport: 80
github:
admin:
– 7113412 #github id
clientid: e34j4bjk34h34vh42k #创建OAuth Apps获取
clientsecret: ea28bbe4e4jk34b34vdsa9b3b4hk4d5 ##创建OAuth Apps获取
site:
brand: 监控面板名称
cookiename: tulong #Cookie 名
其中github id、clientid和clientsecret需要在GitHub获取,具体方法如下:
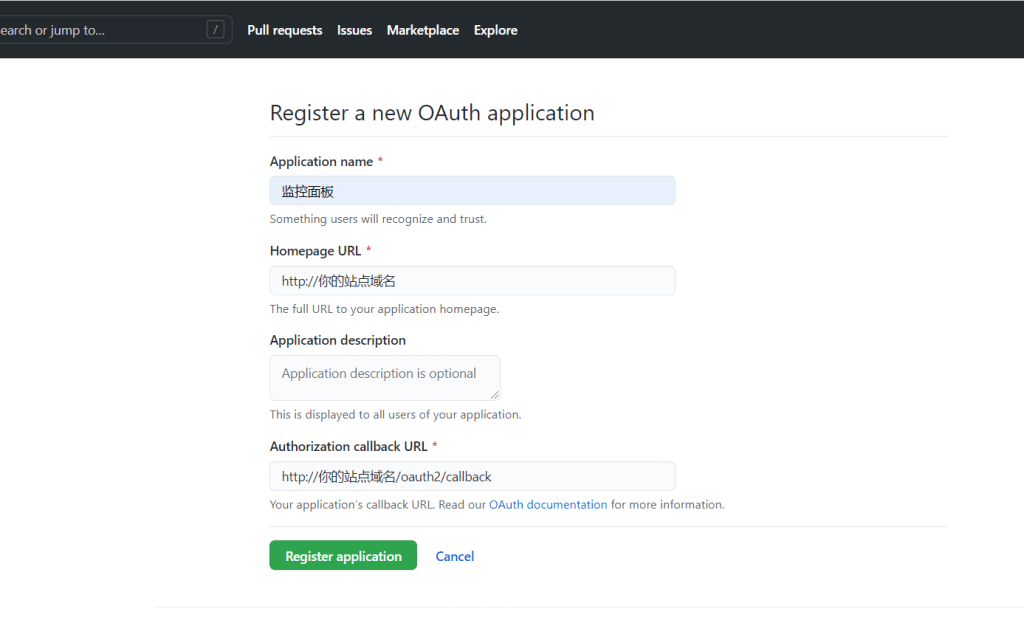
在设置中找到oauth apps创建一个新的应用:

填写站点名称和URL信息:
复制头像url地址,在地址中获取github的id:
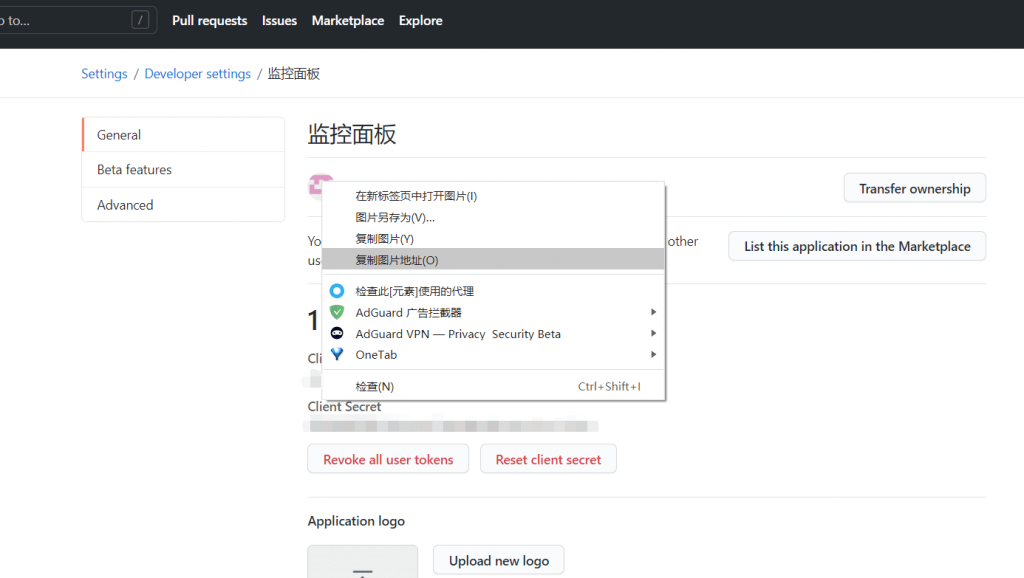
复制client id和client secret:

配置完毕后,启动监控面板,然后用github账号登陆即可。
cd /root/dashboard/
./main
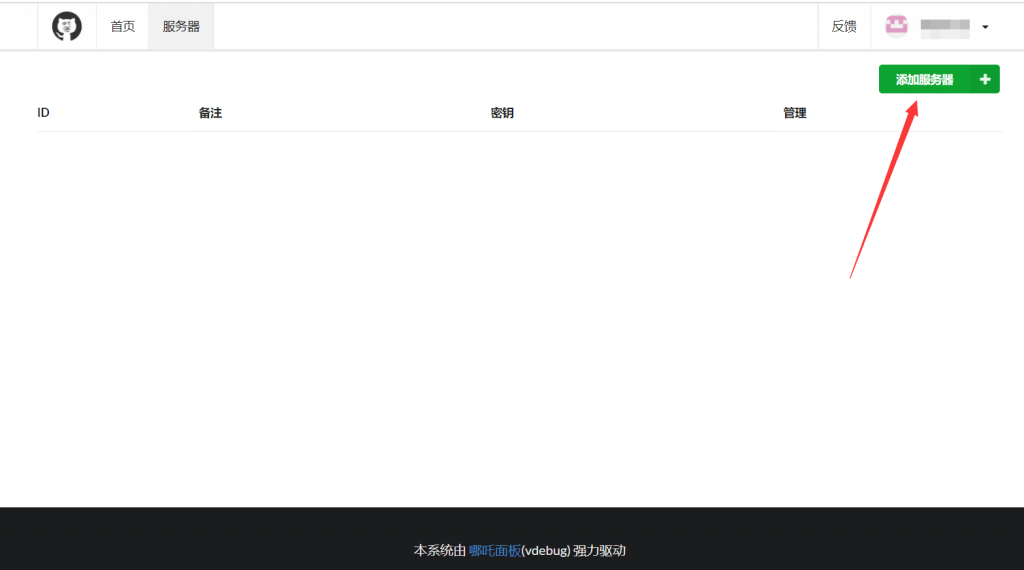
启动后访问自己配置的域名和端口,登录github账号然后添加需要监控的服务器,这里我们就以监控本机为例:
记录下面板生成的ID和密钥:
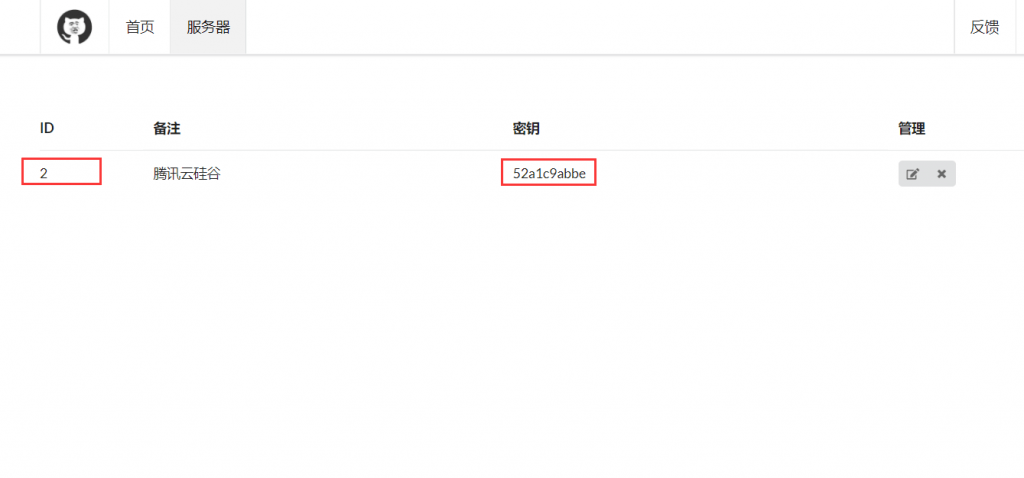
然后我们运行agent,-i参数接面板上生成的id,-p参数接密钥即可:
cd /root/agent/
./agent -i 2 -s localhost:5555 -p 52a1c9abbe -d
然后我们来看看效果,很赞有木有:
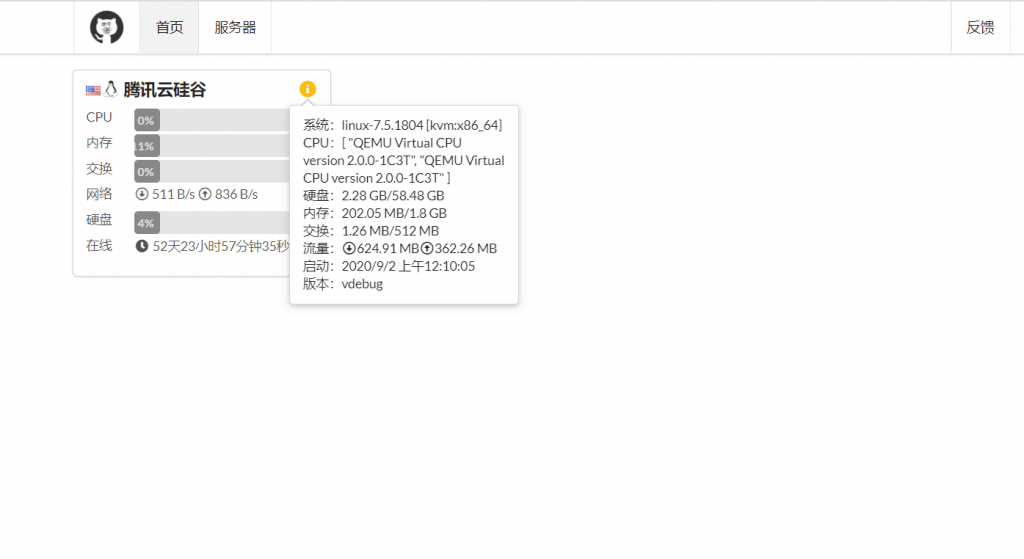
这个探针没有复杂的配置,要监控其他小鸡直接把编译好的agent文件复制过去运行就行了。