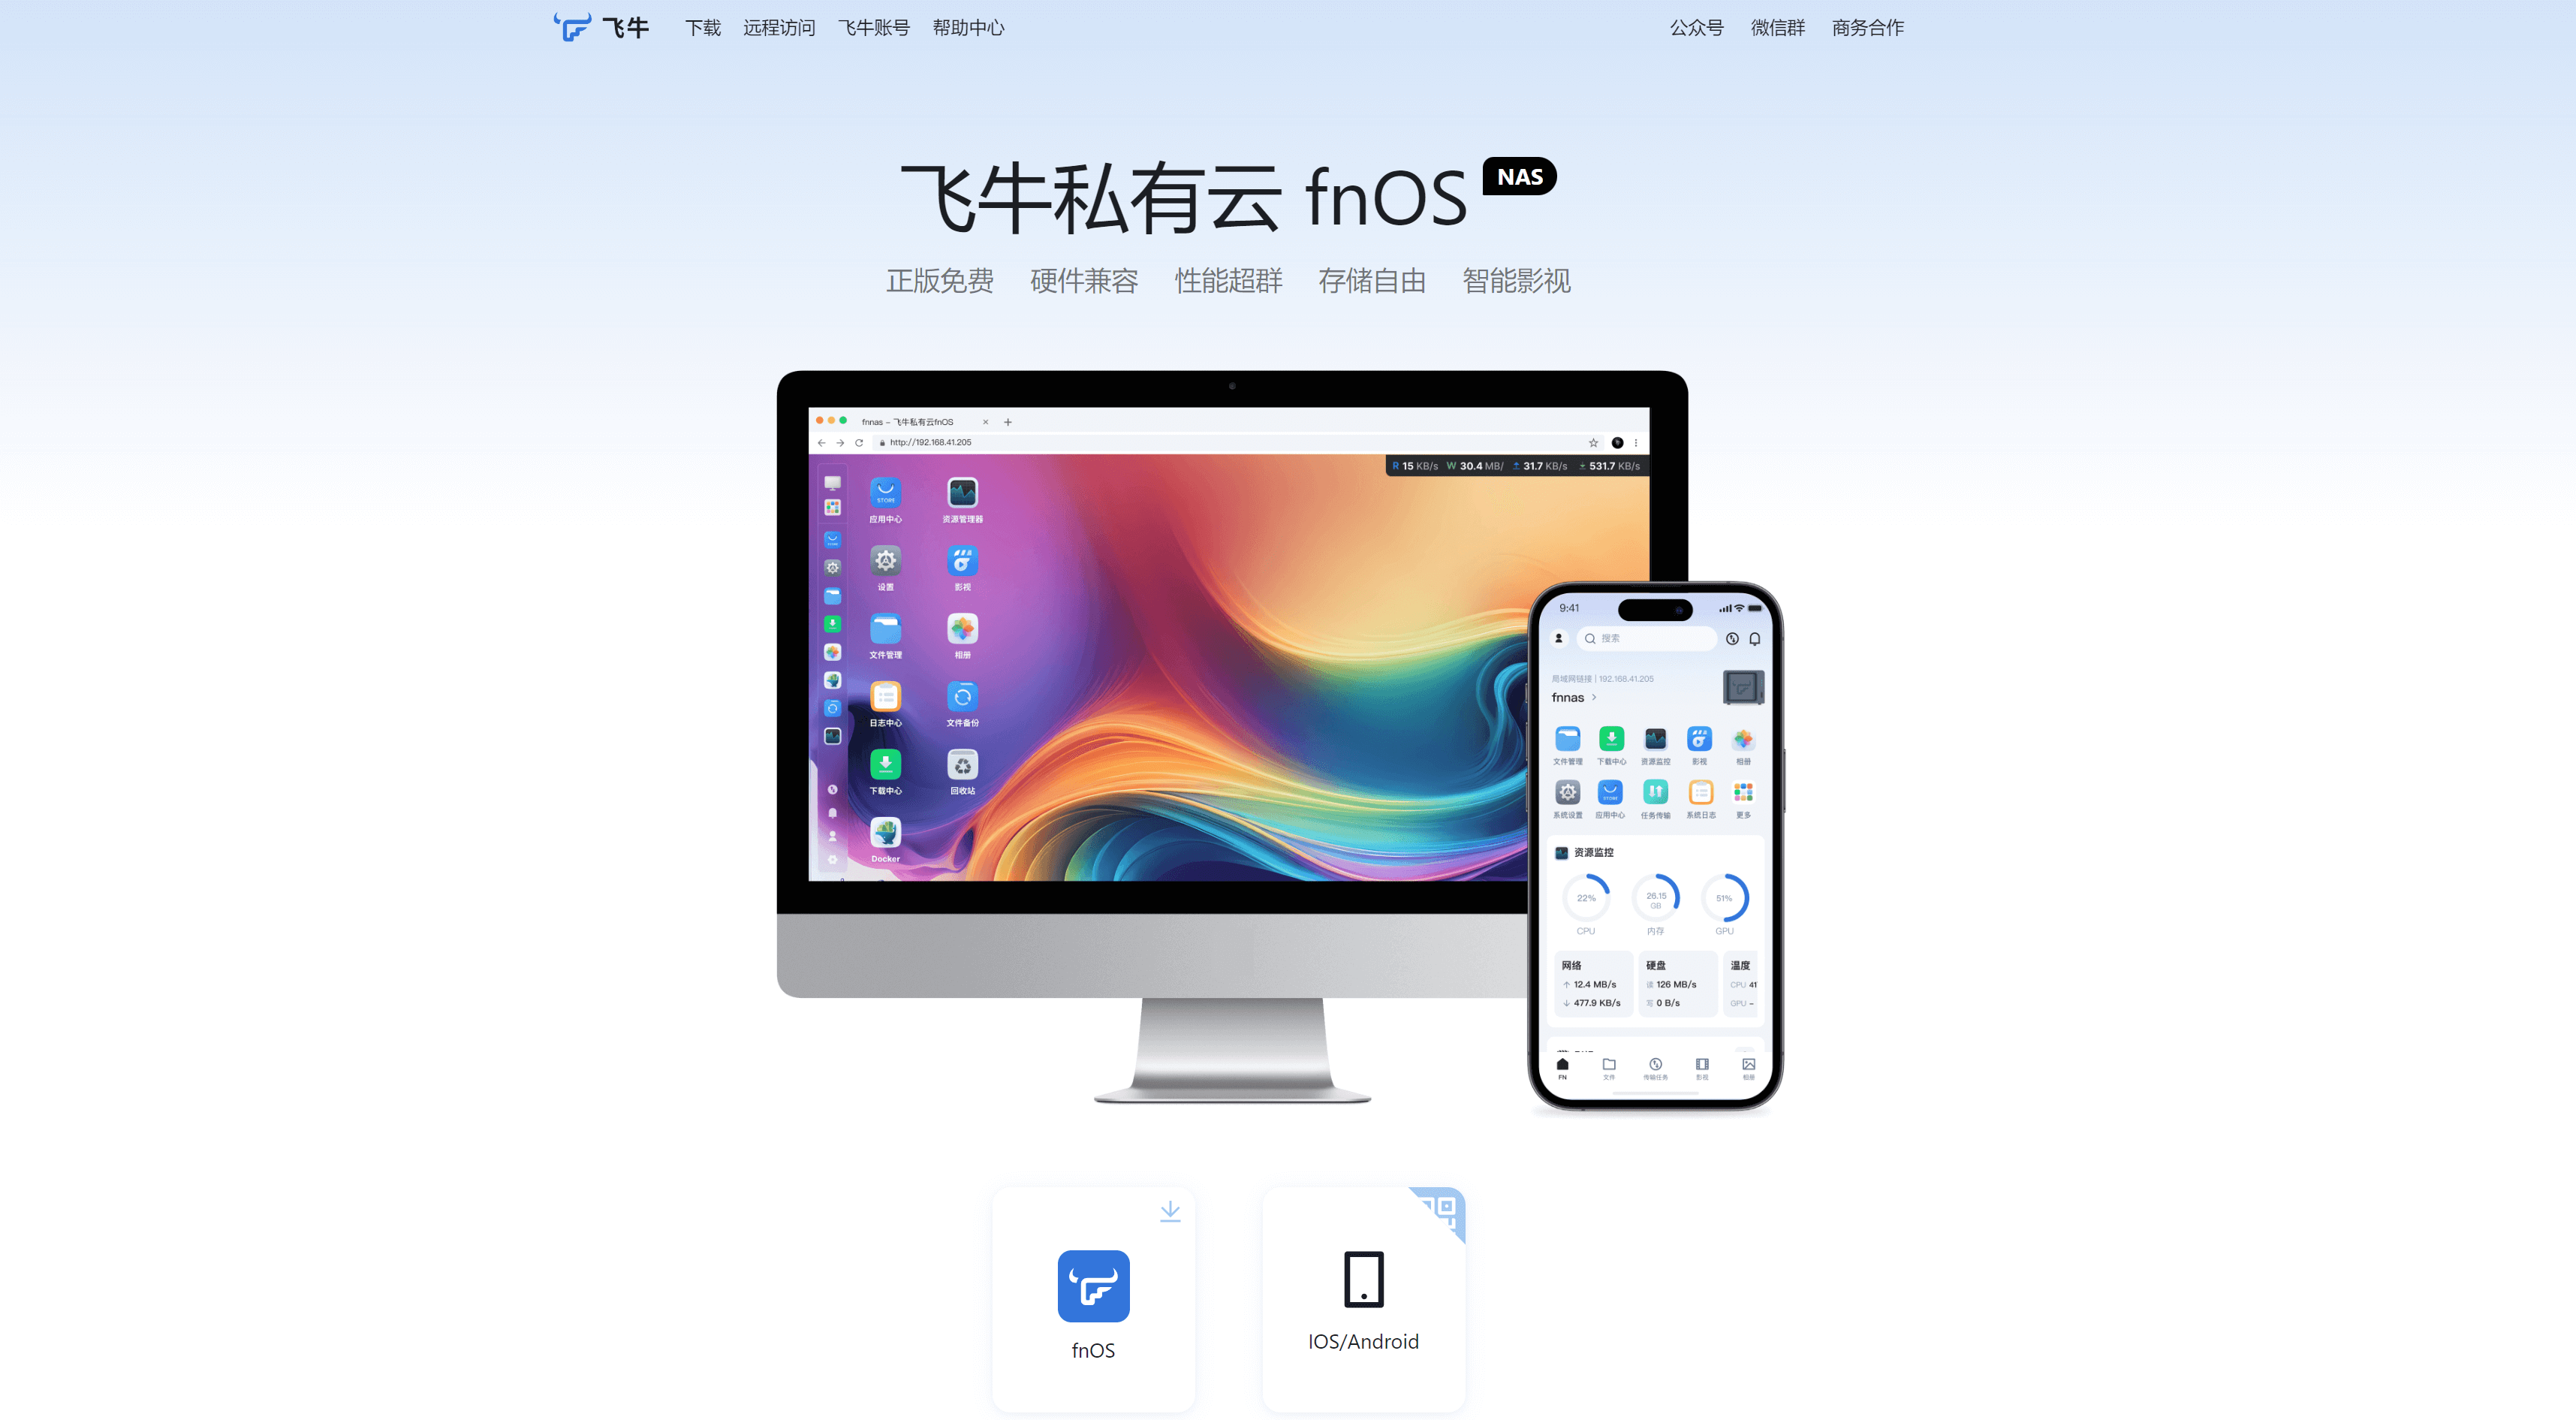
飞牛NAS系统官网:https://www.fnnas.com/
最近发布了一个国产NAS系统,叫飞牛NAS,据说体验不错,刚好又买了CloudCone的存储服务器,正好装上用起来。
1、运行环境:Debian12
重装前我们需要先记下VPS网卡信息,使用以下命令查看IP地址、掩码和网关。
cat /etc/network/interfaces2、一键DD安装,直接在VPS SSH终端上执行一下这条命令
wget --no-check-certificate -qO InstallNET.sh 'https://raw.githubusercontent.com/leitbogioro/Tools/master/Linux_reinstall/InstallNET.sh' && chmod a+x InstallNET.sh
./InstallNET.sh --image 'https://r2.yx.lu/fnos.vhd.gz'
3、执行完毕后,会提示你输入 reboot 命令进行重启。
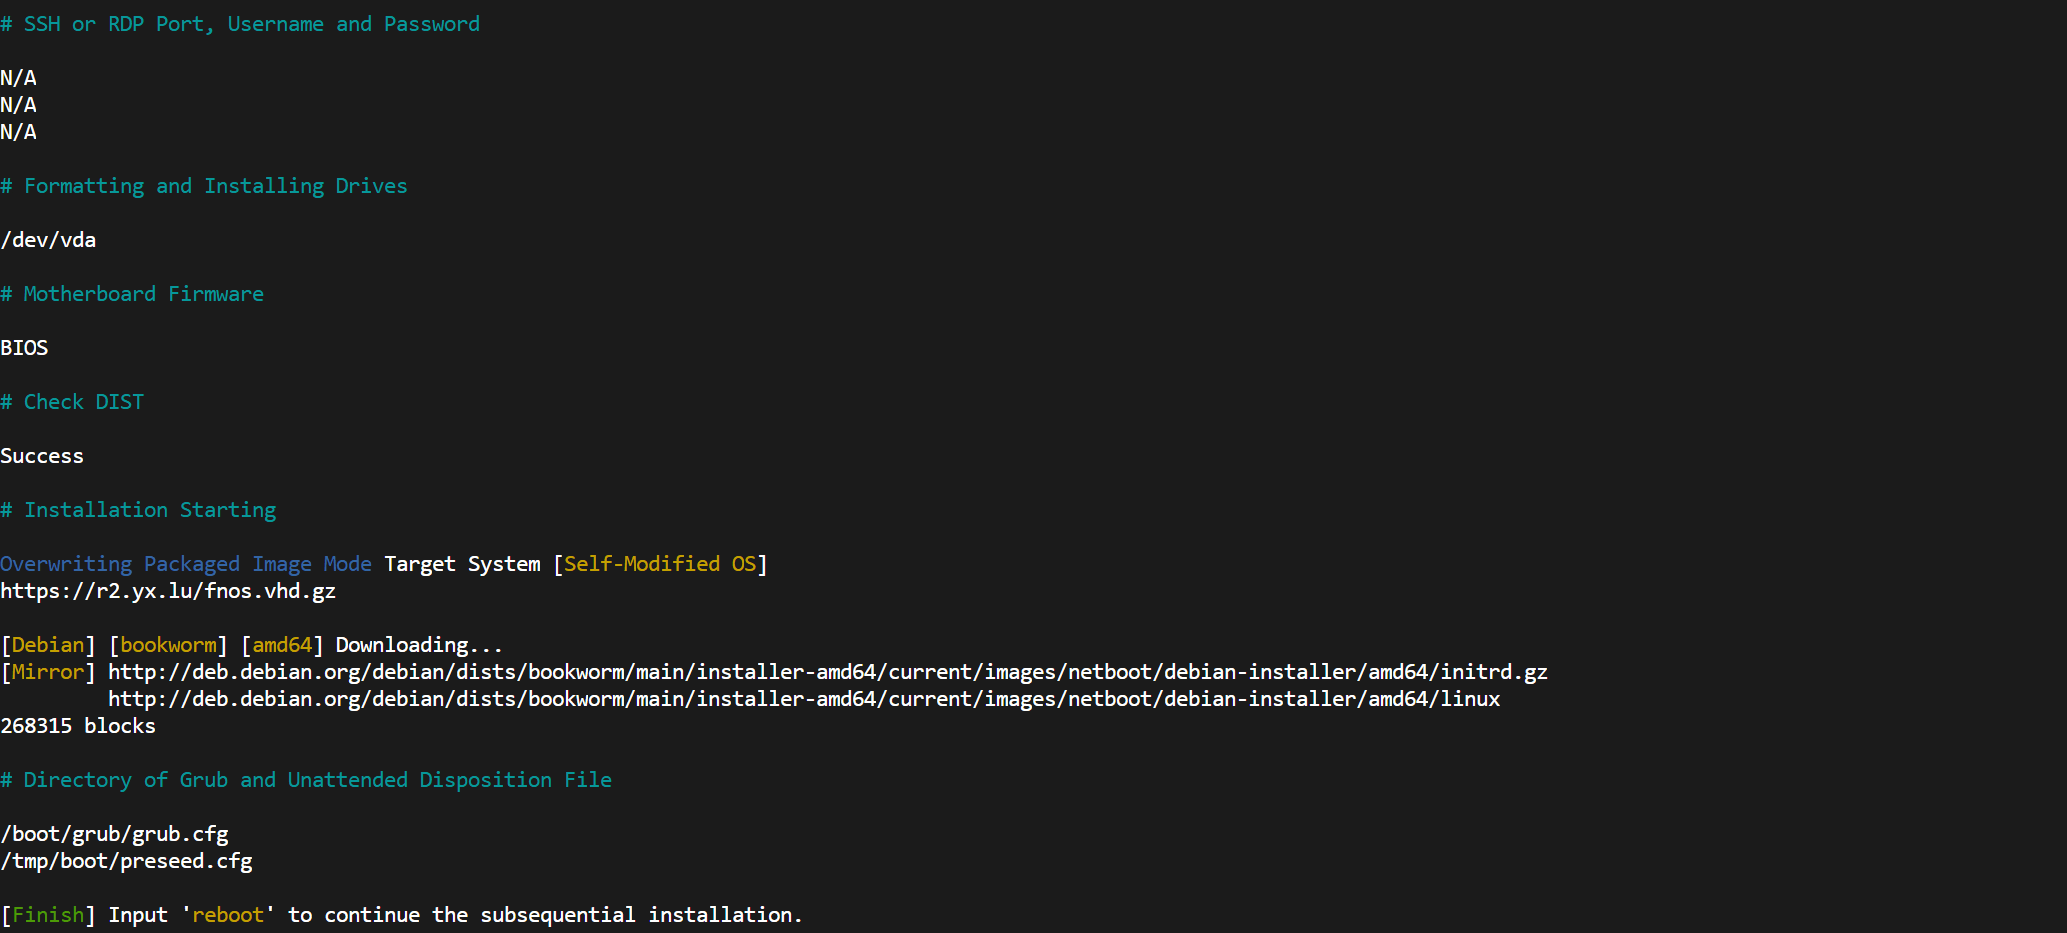
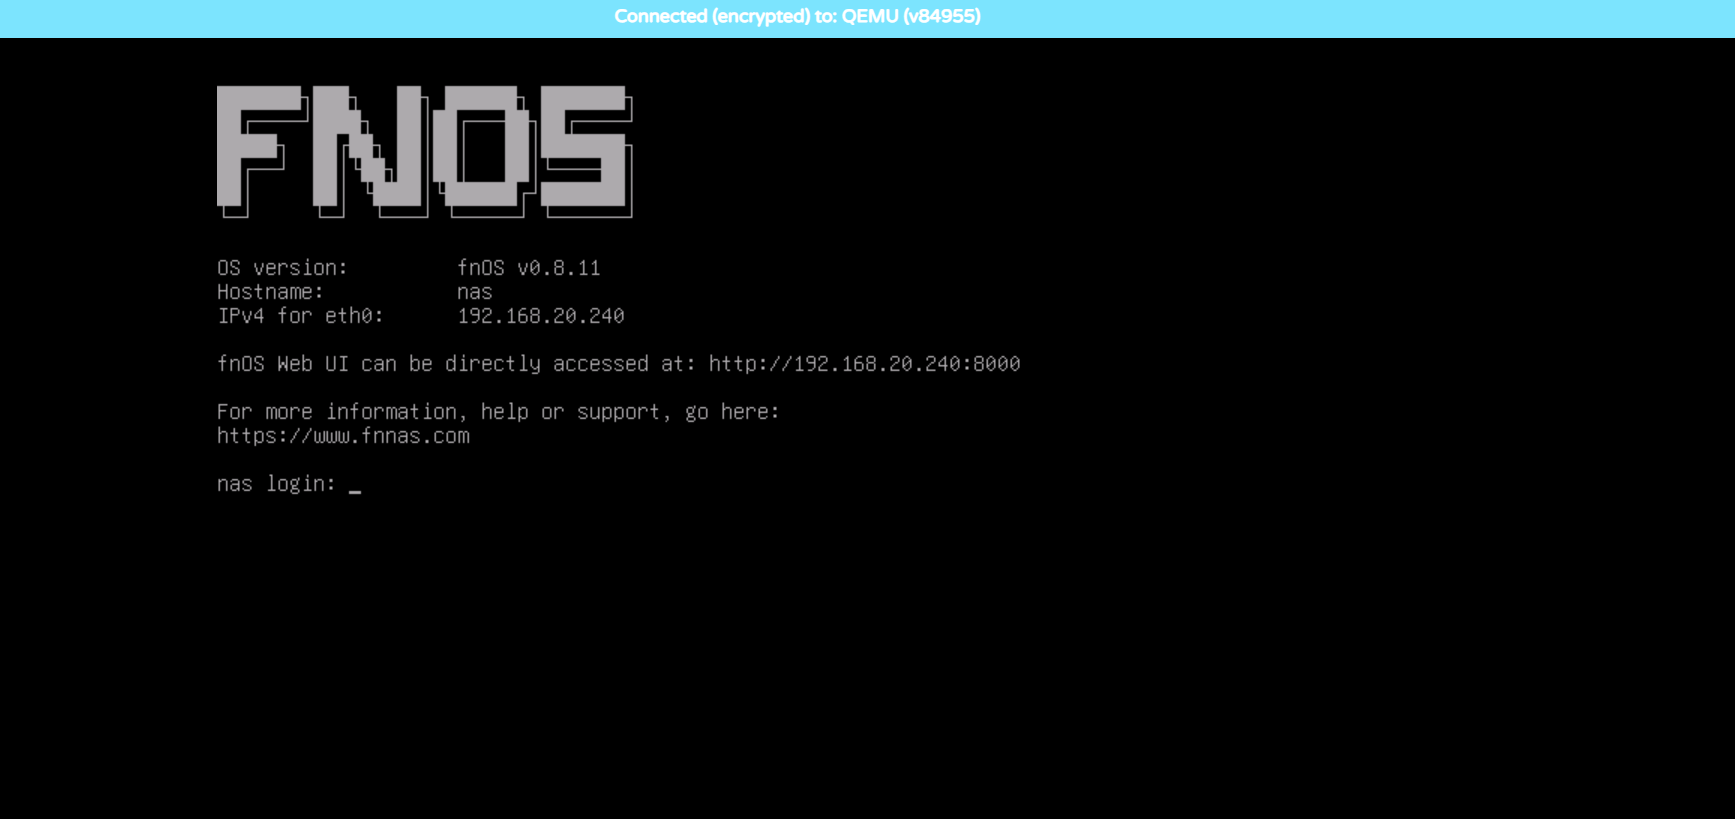
4、按照操作,进行重启,重启后大概需要等个10-15分钟系统才会安装完毕,可以通过VNC查看安装进度(不过DD脚本显示不准确,我的是卡着不动,10几分钟后直接就装好了)。
安装完毕后,会进入FNOS登录页面。输入DD包默认账号密码:mjj / mjj@123 即可登入系统。
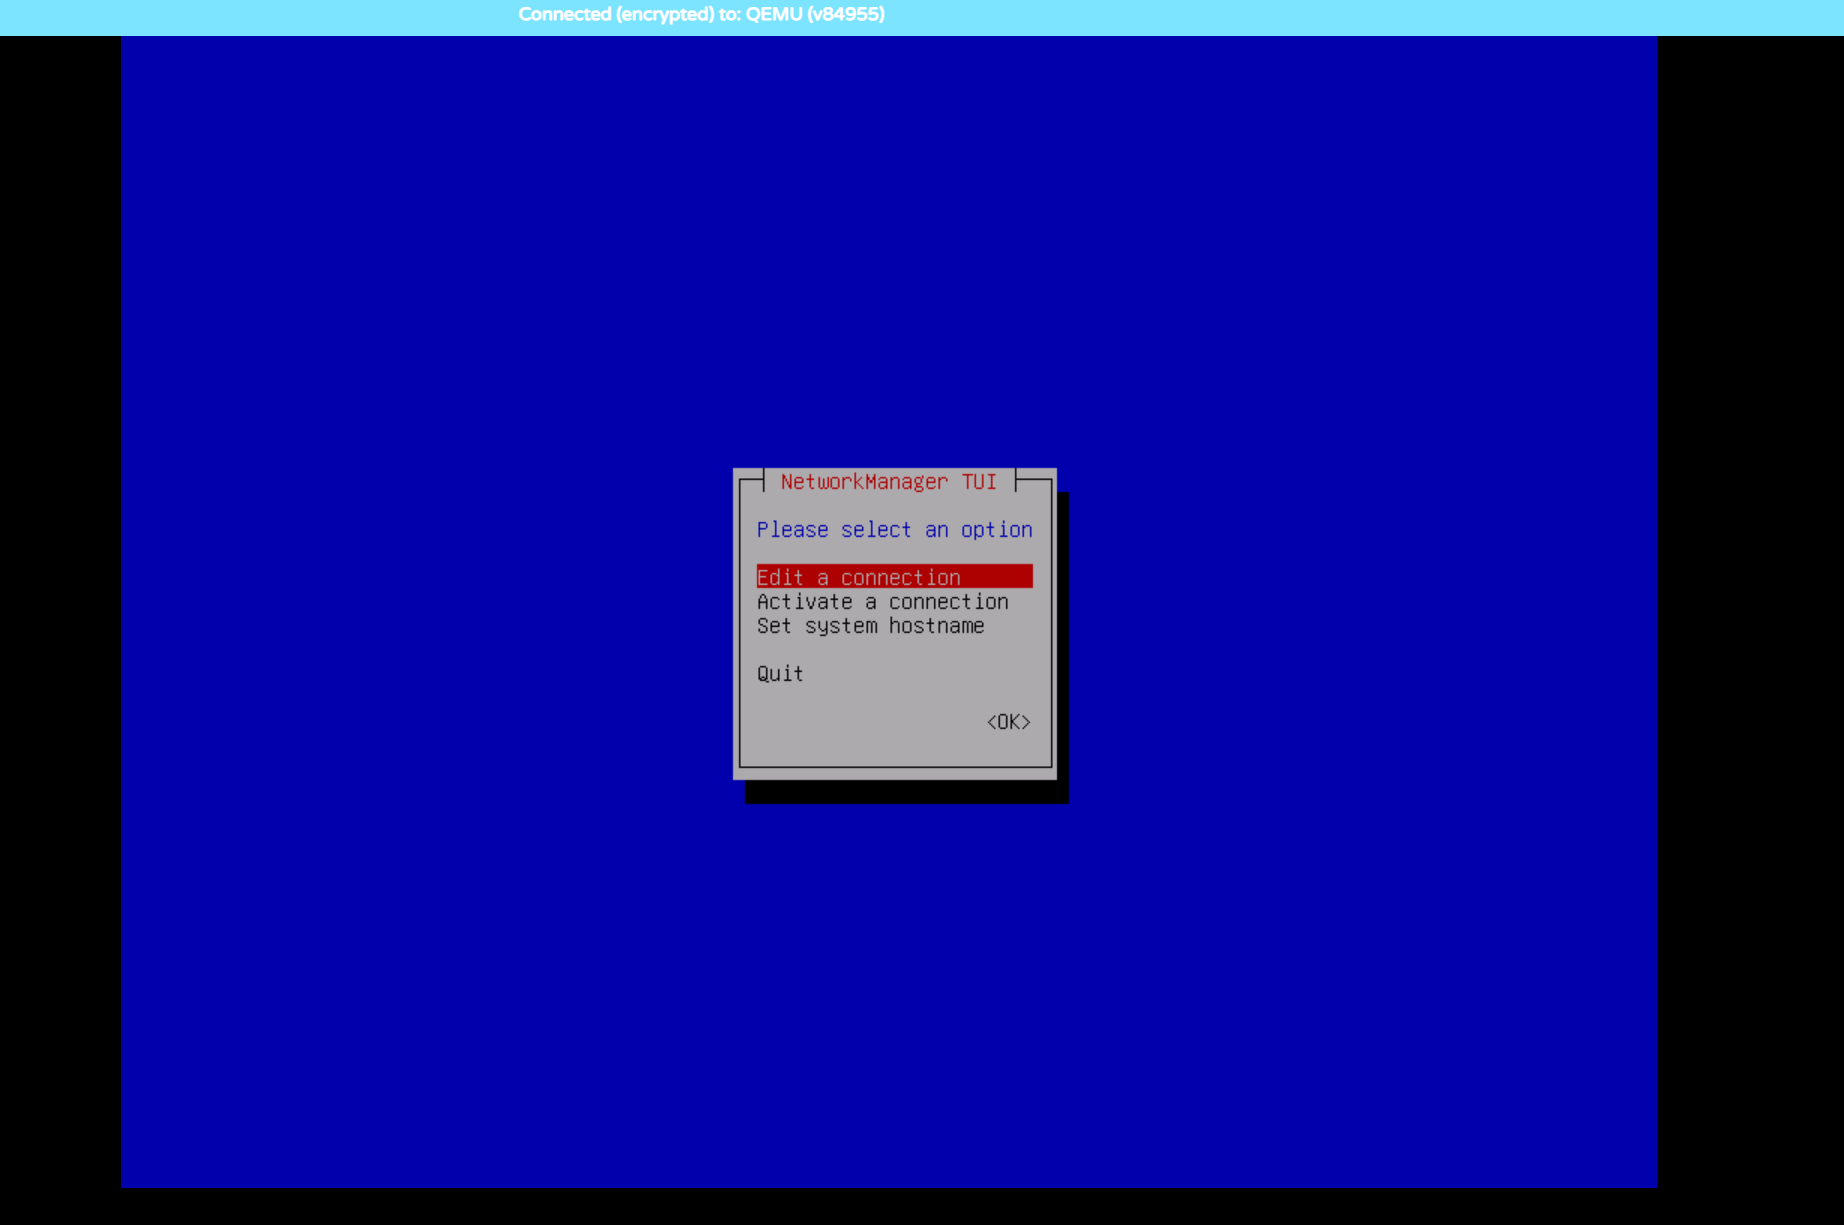
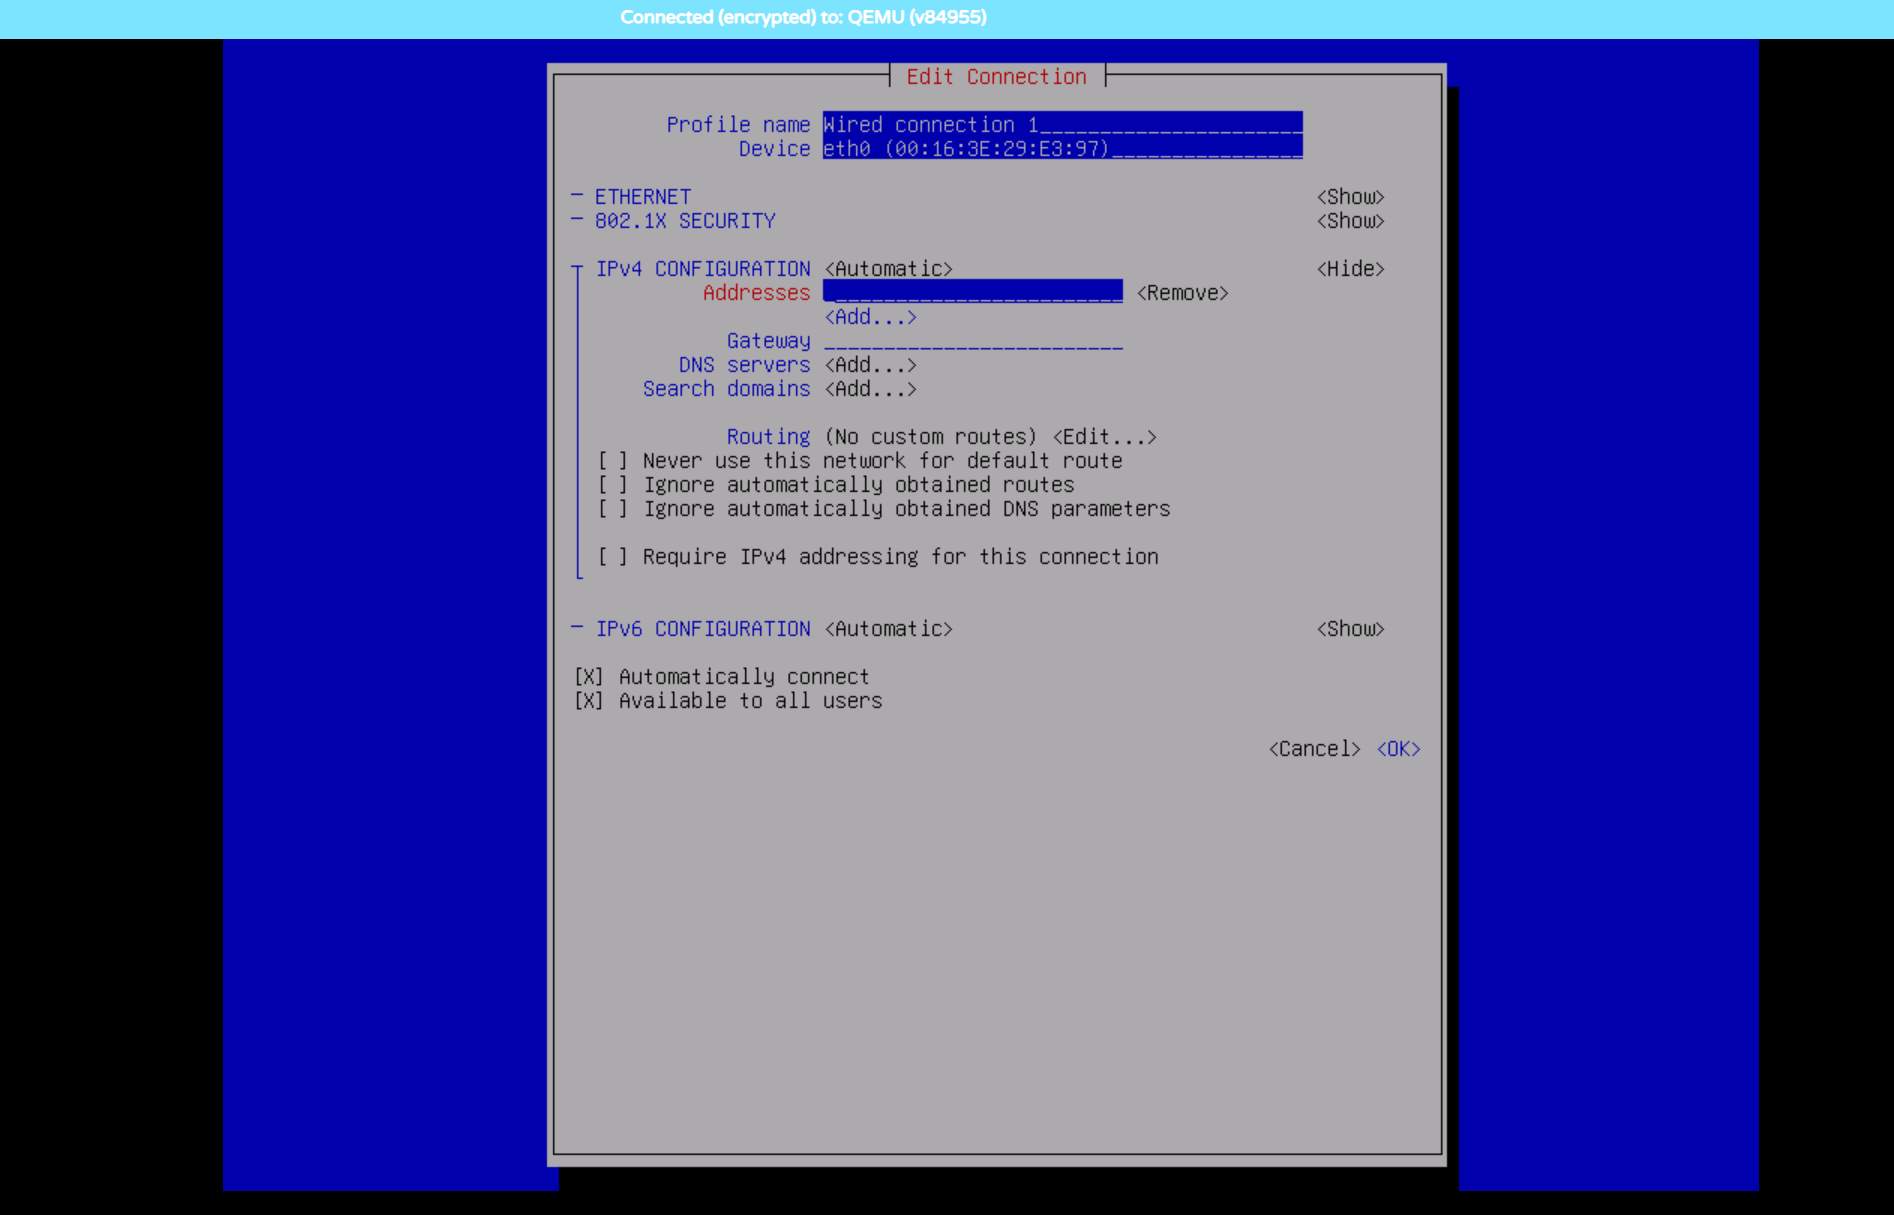
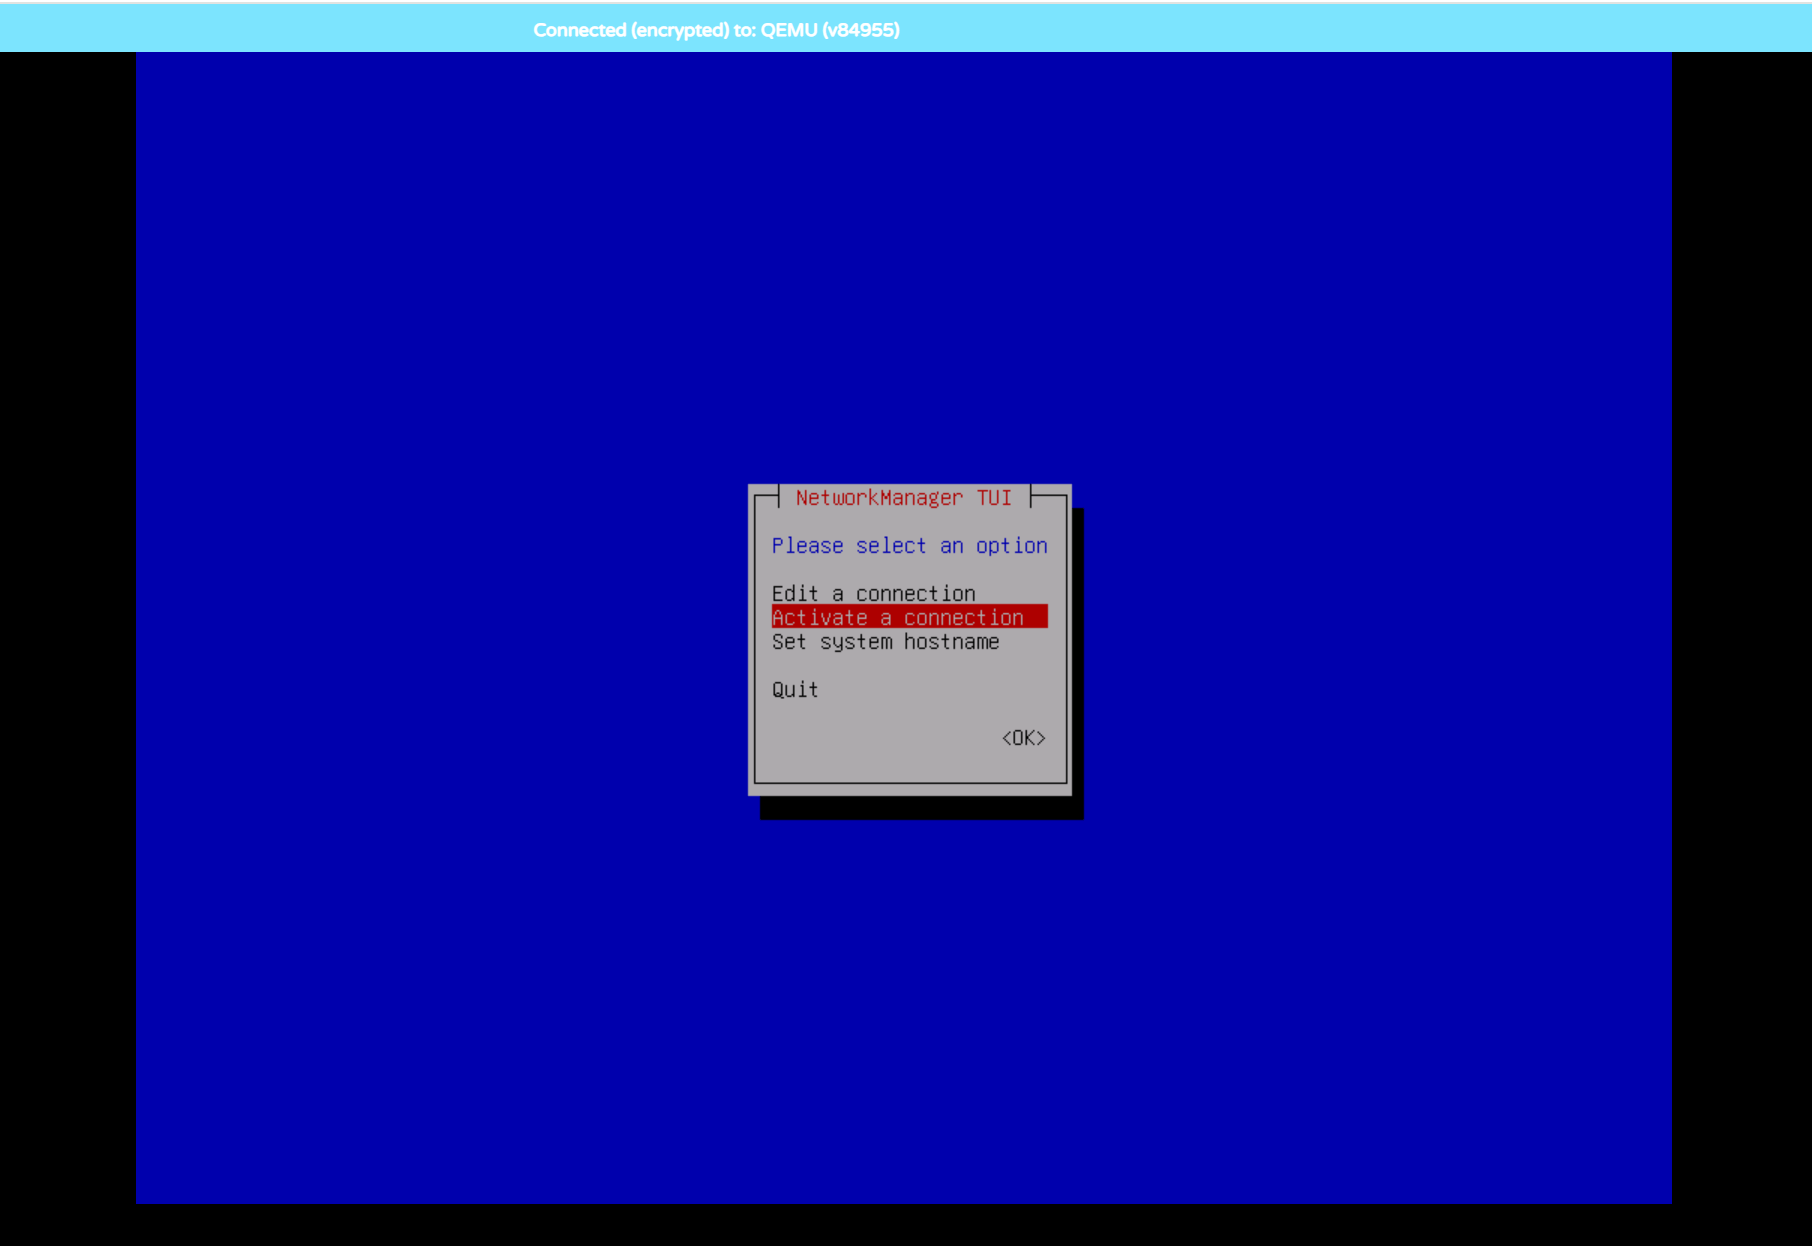
5、配置网卡IP地址,切换到root用户,输入 sudo su ,然后输入mjj用户密码即可切换到root用户,然后输入 nmtui 命令,进入网络图形配置界面,可选第二个直接激活网卡DHCP获取IP地址,如果获取失败没网,就选第一个进入手动配置,网卡就选择wired。
配置其中的 Addresses/Gateway/DNS Servers 三项,示例如下:
Addresses:142.171.62.11/24(不会算掩码就用子网计算器)
Gateway:142.171.62.1
DNS Servers:8.8.8.8
配置好后返回上级菜单,激活网卡链接,重启一下也行。
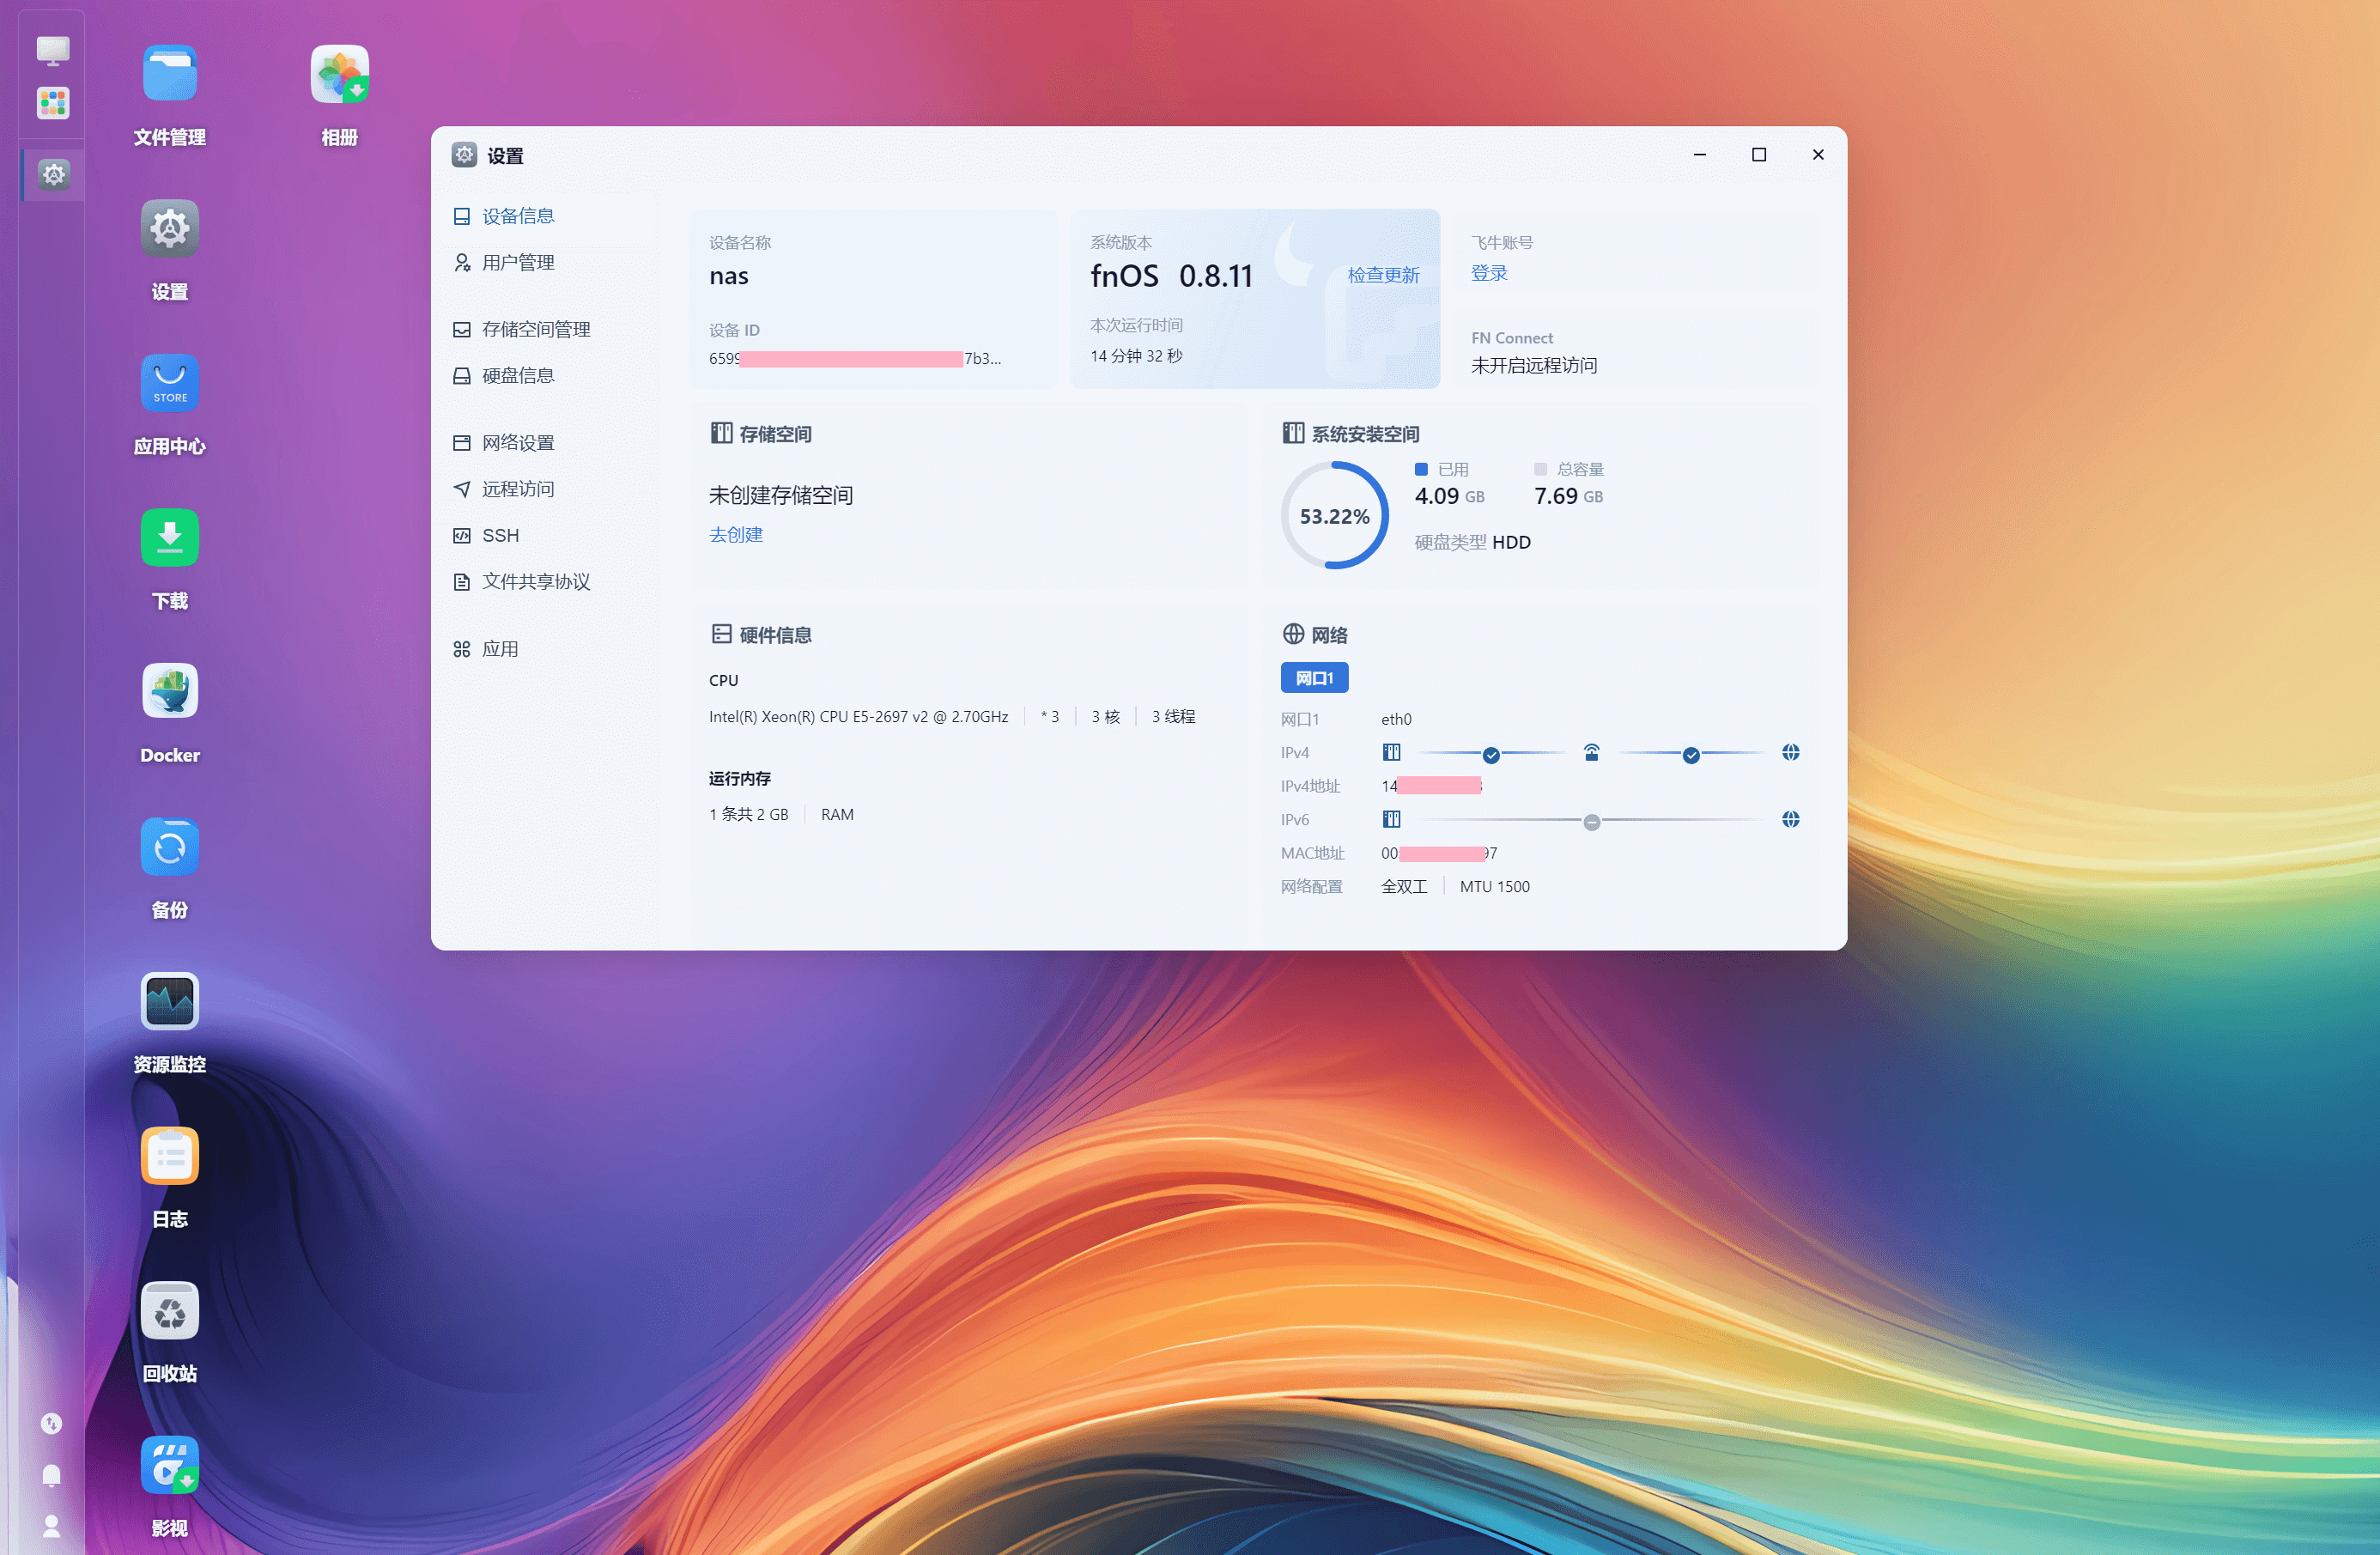
6、网通了之后就可以直接通过IP地址访问NAS系统了,系统密码和SSH登录账号密码一致。
http://IP地址:8000/
用户名:mjj
密码:mjj@123
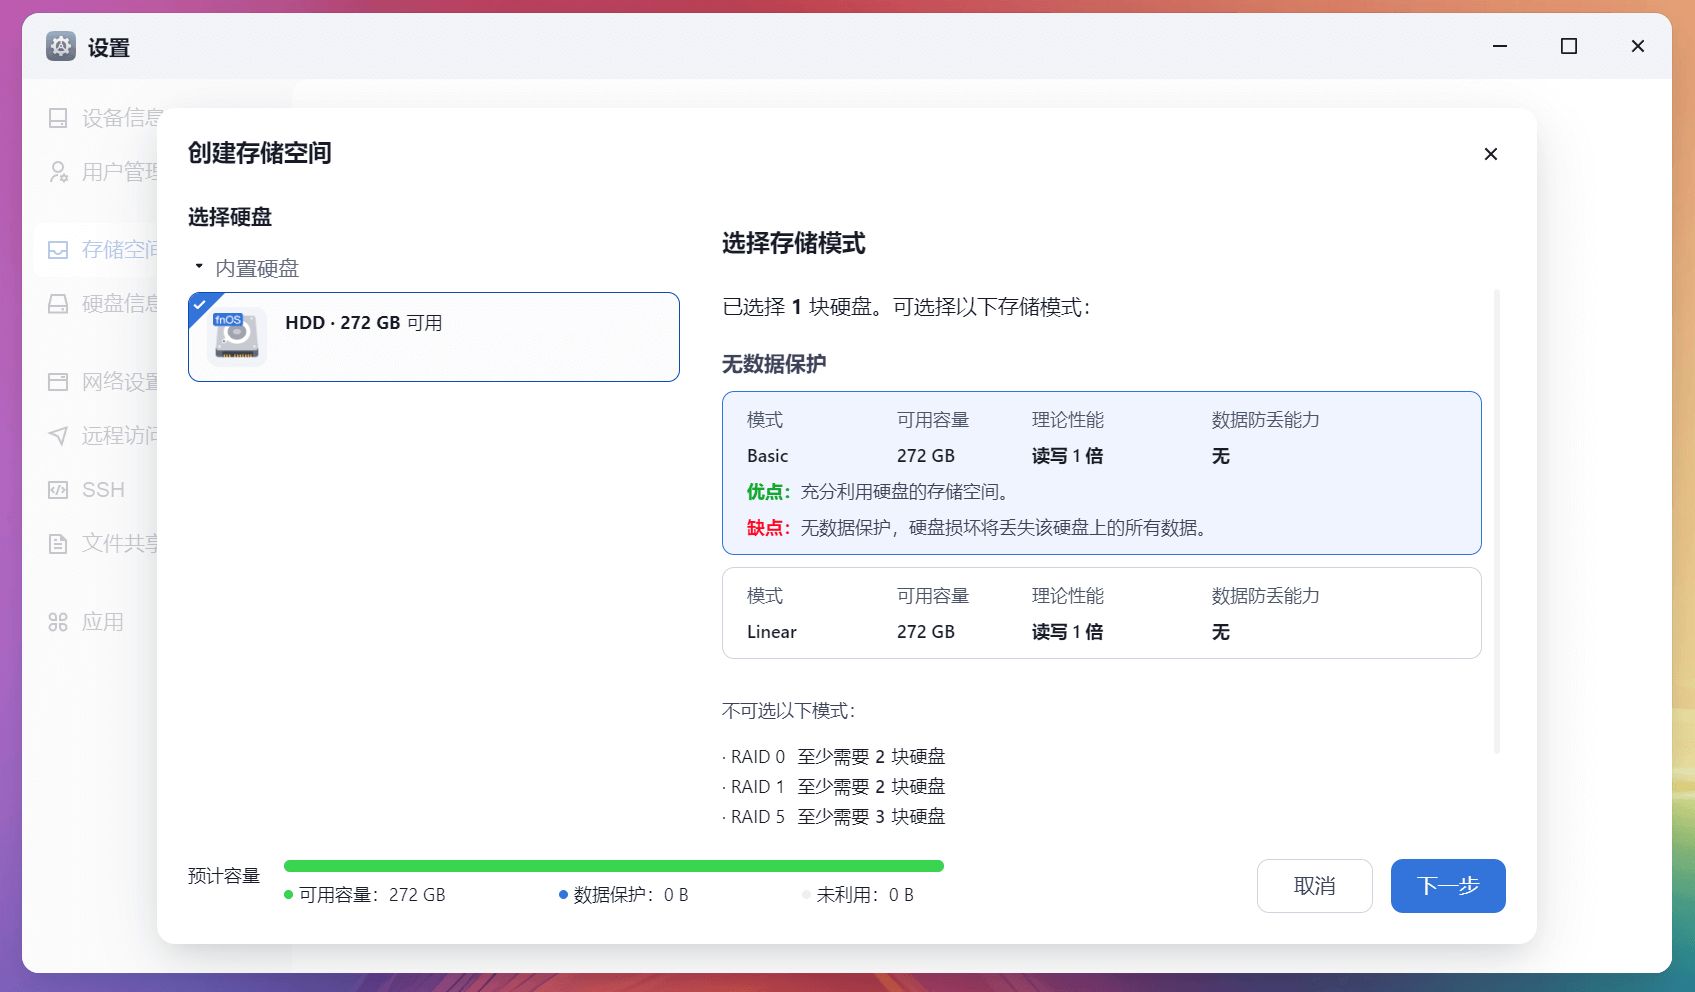
7、进来第一步就是创建存储空间,创建之后才能存放文件,首次创建你会发现创建不了;先删除默认的5G空闲空间(必要步骤),再次创建存储空间,结果还是不行,在VNC SSH终端使用 fdisk -l 查看硬盘,提示the backup gpt table is not on the end of the device。这个属于GPT PMBR大小不符导致的,只需要使用 parted -l 命令修复即可。
parted -l
然后输入 Fix 确认。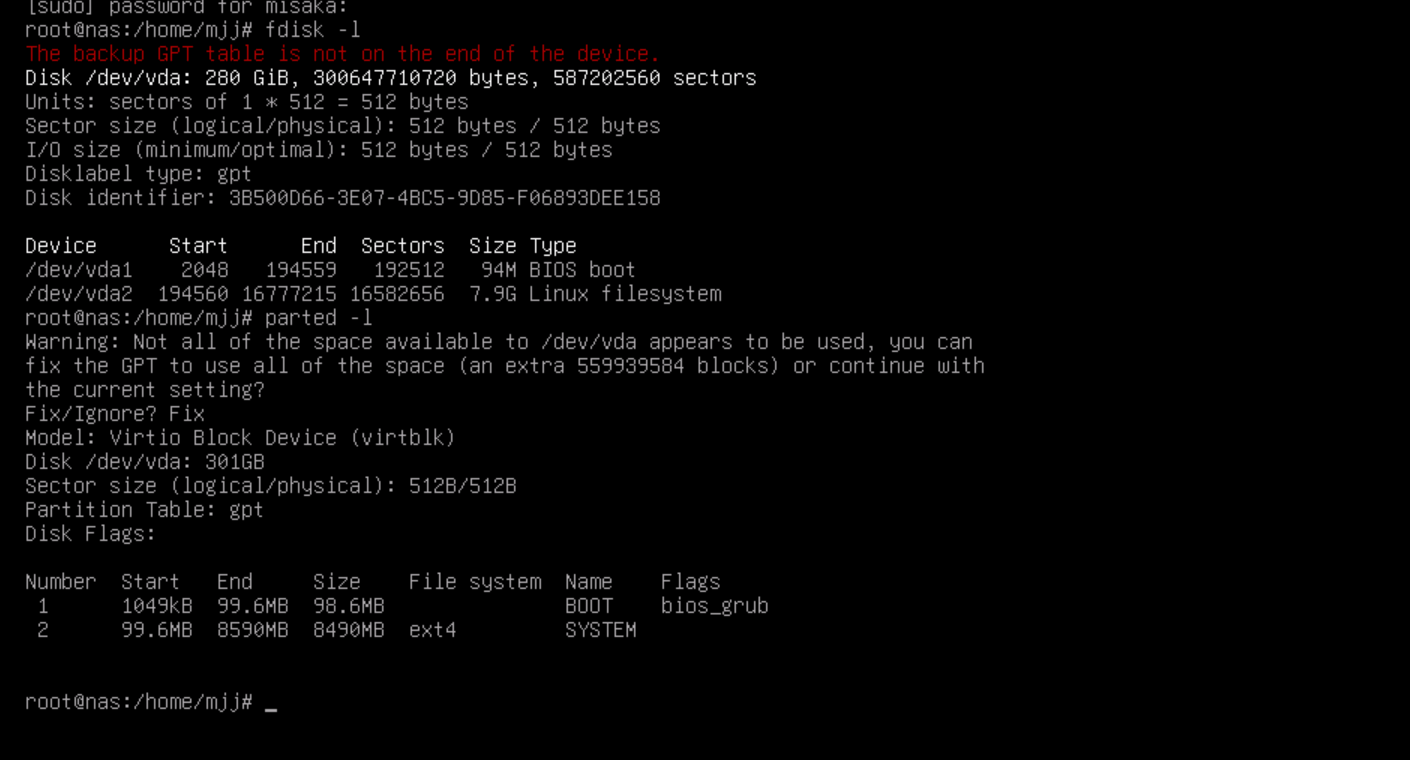
修复完毕后,再次创建存储空间就一切正常了。

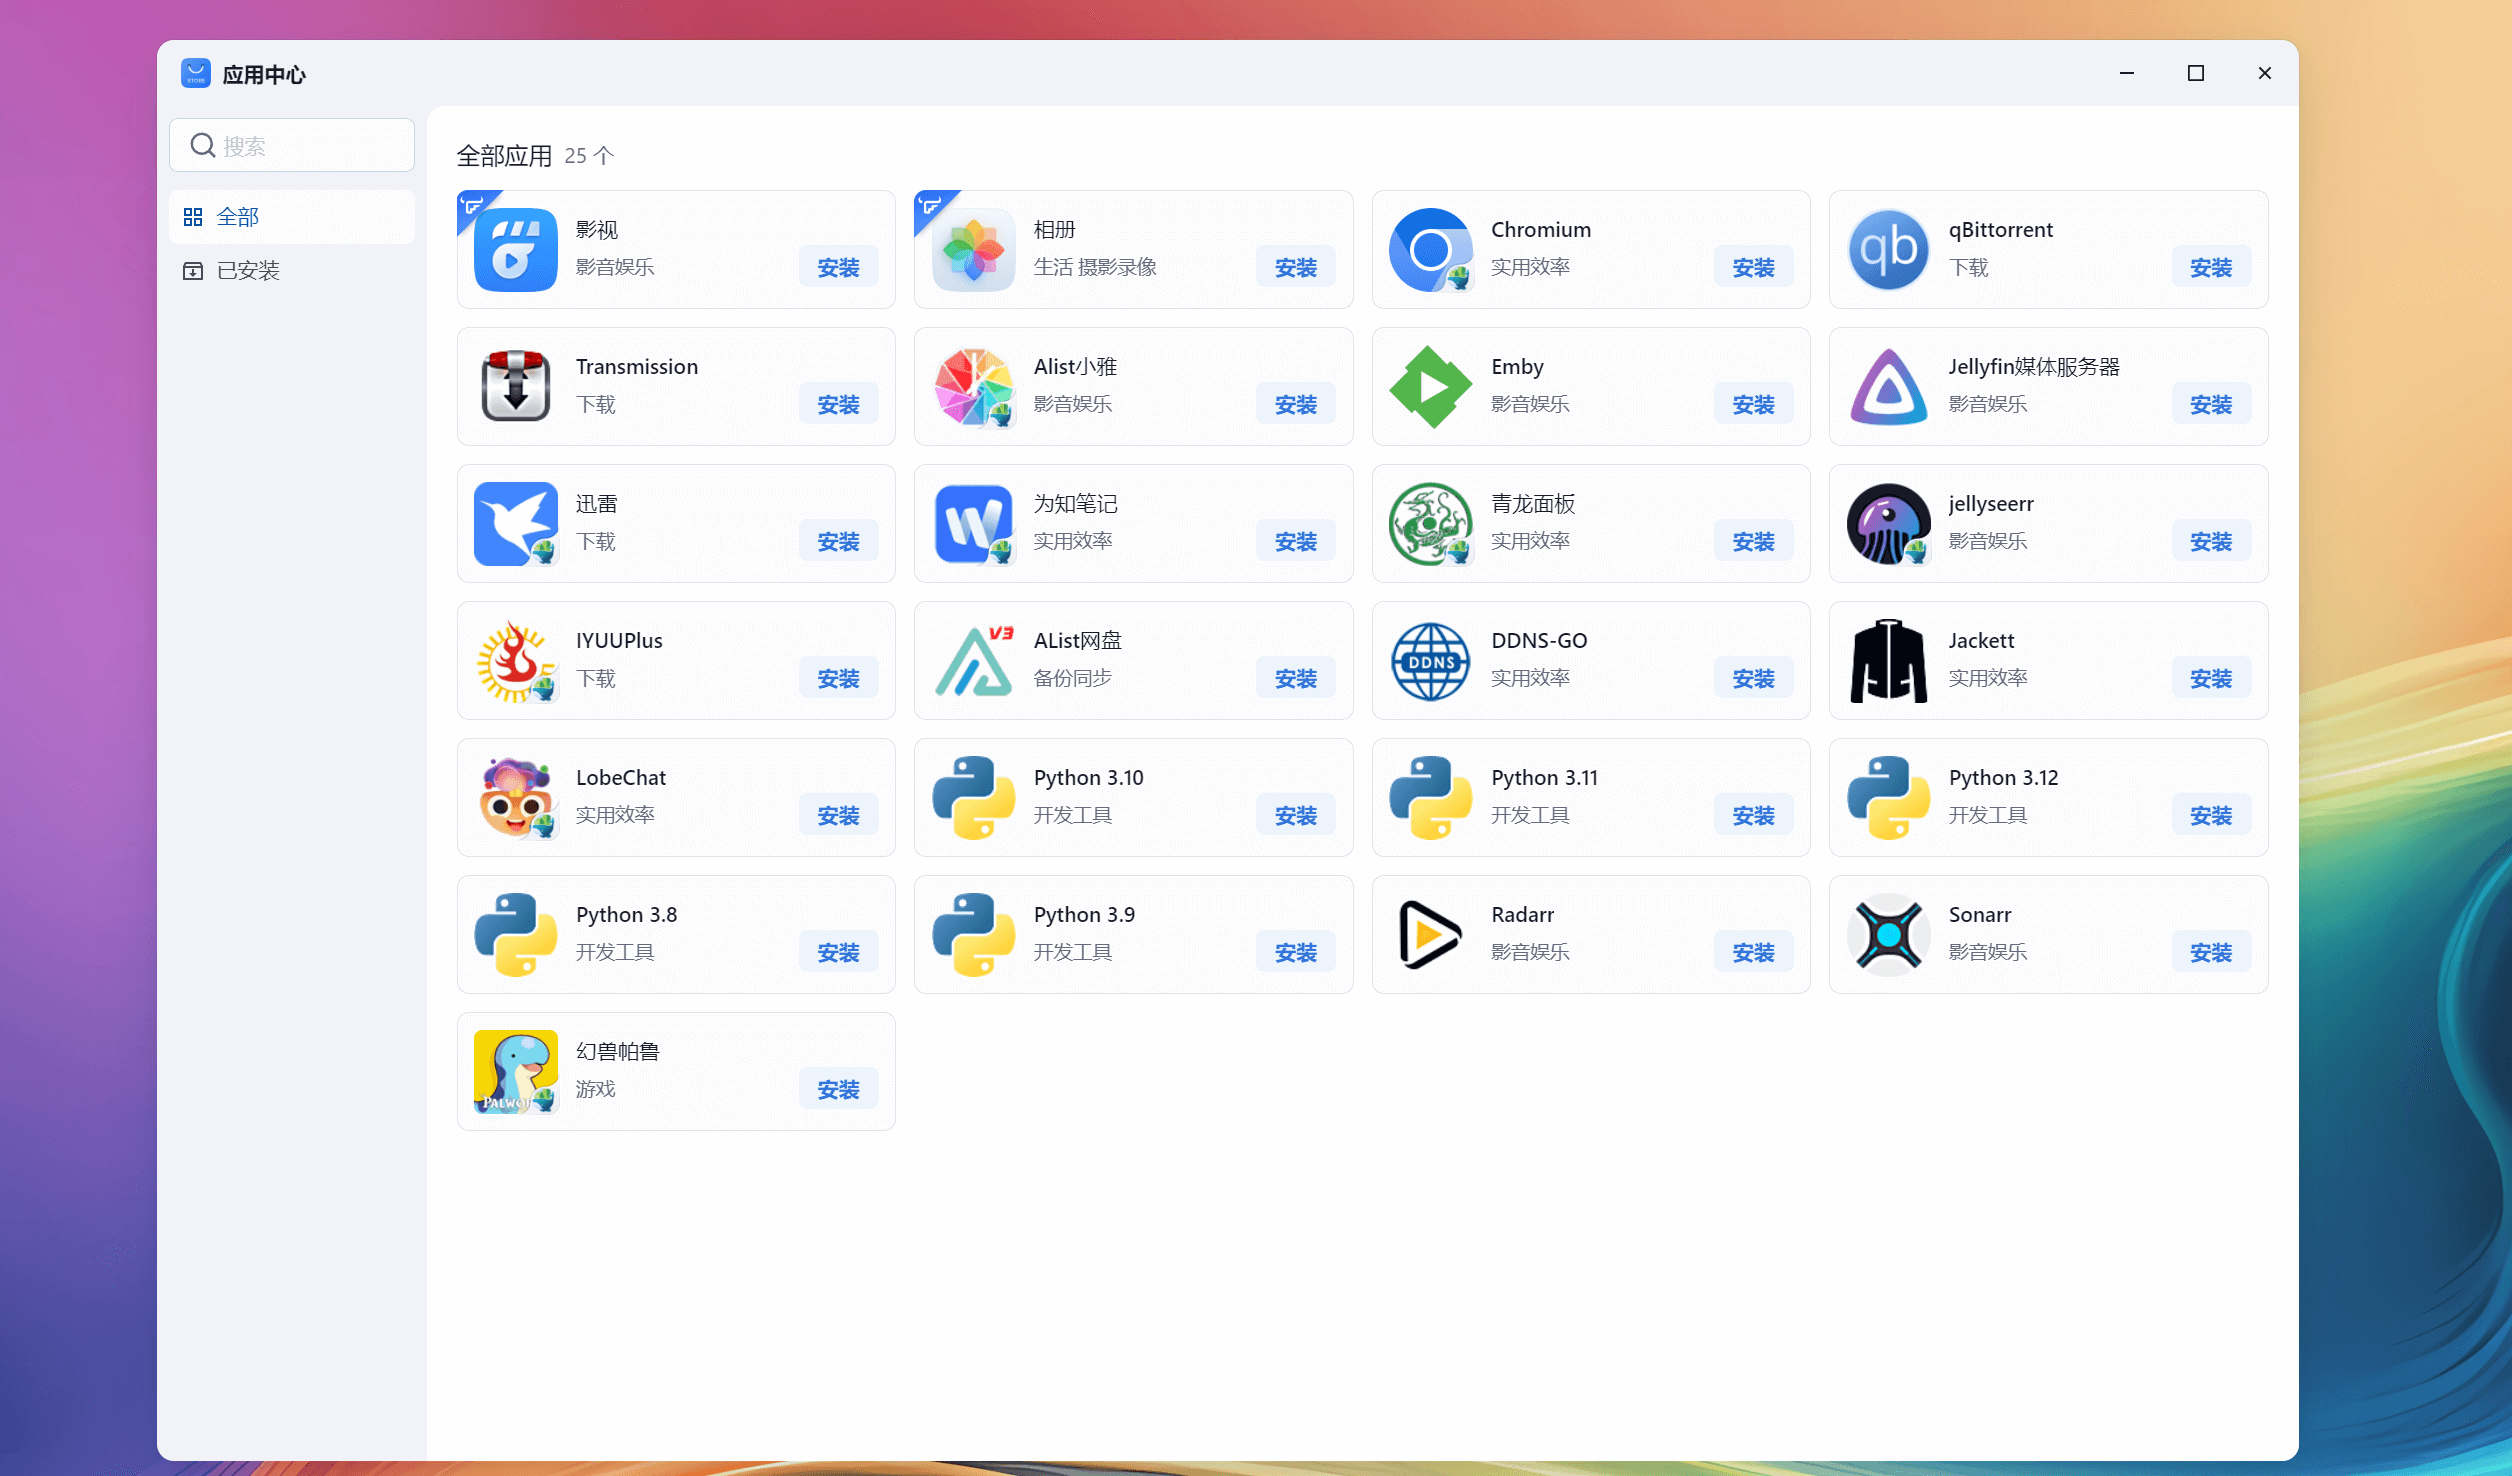
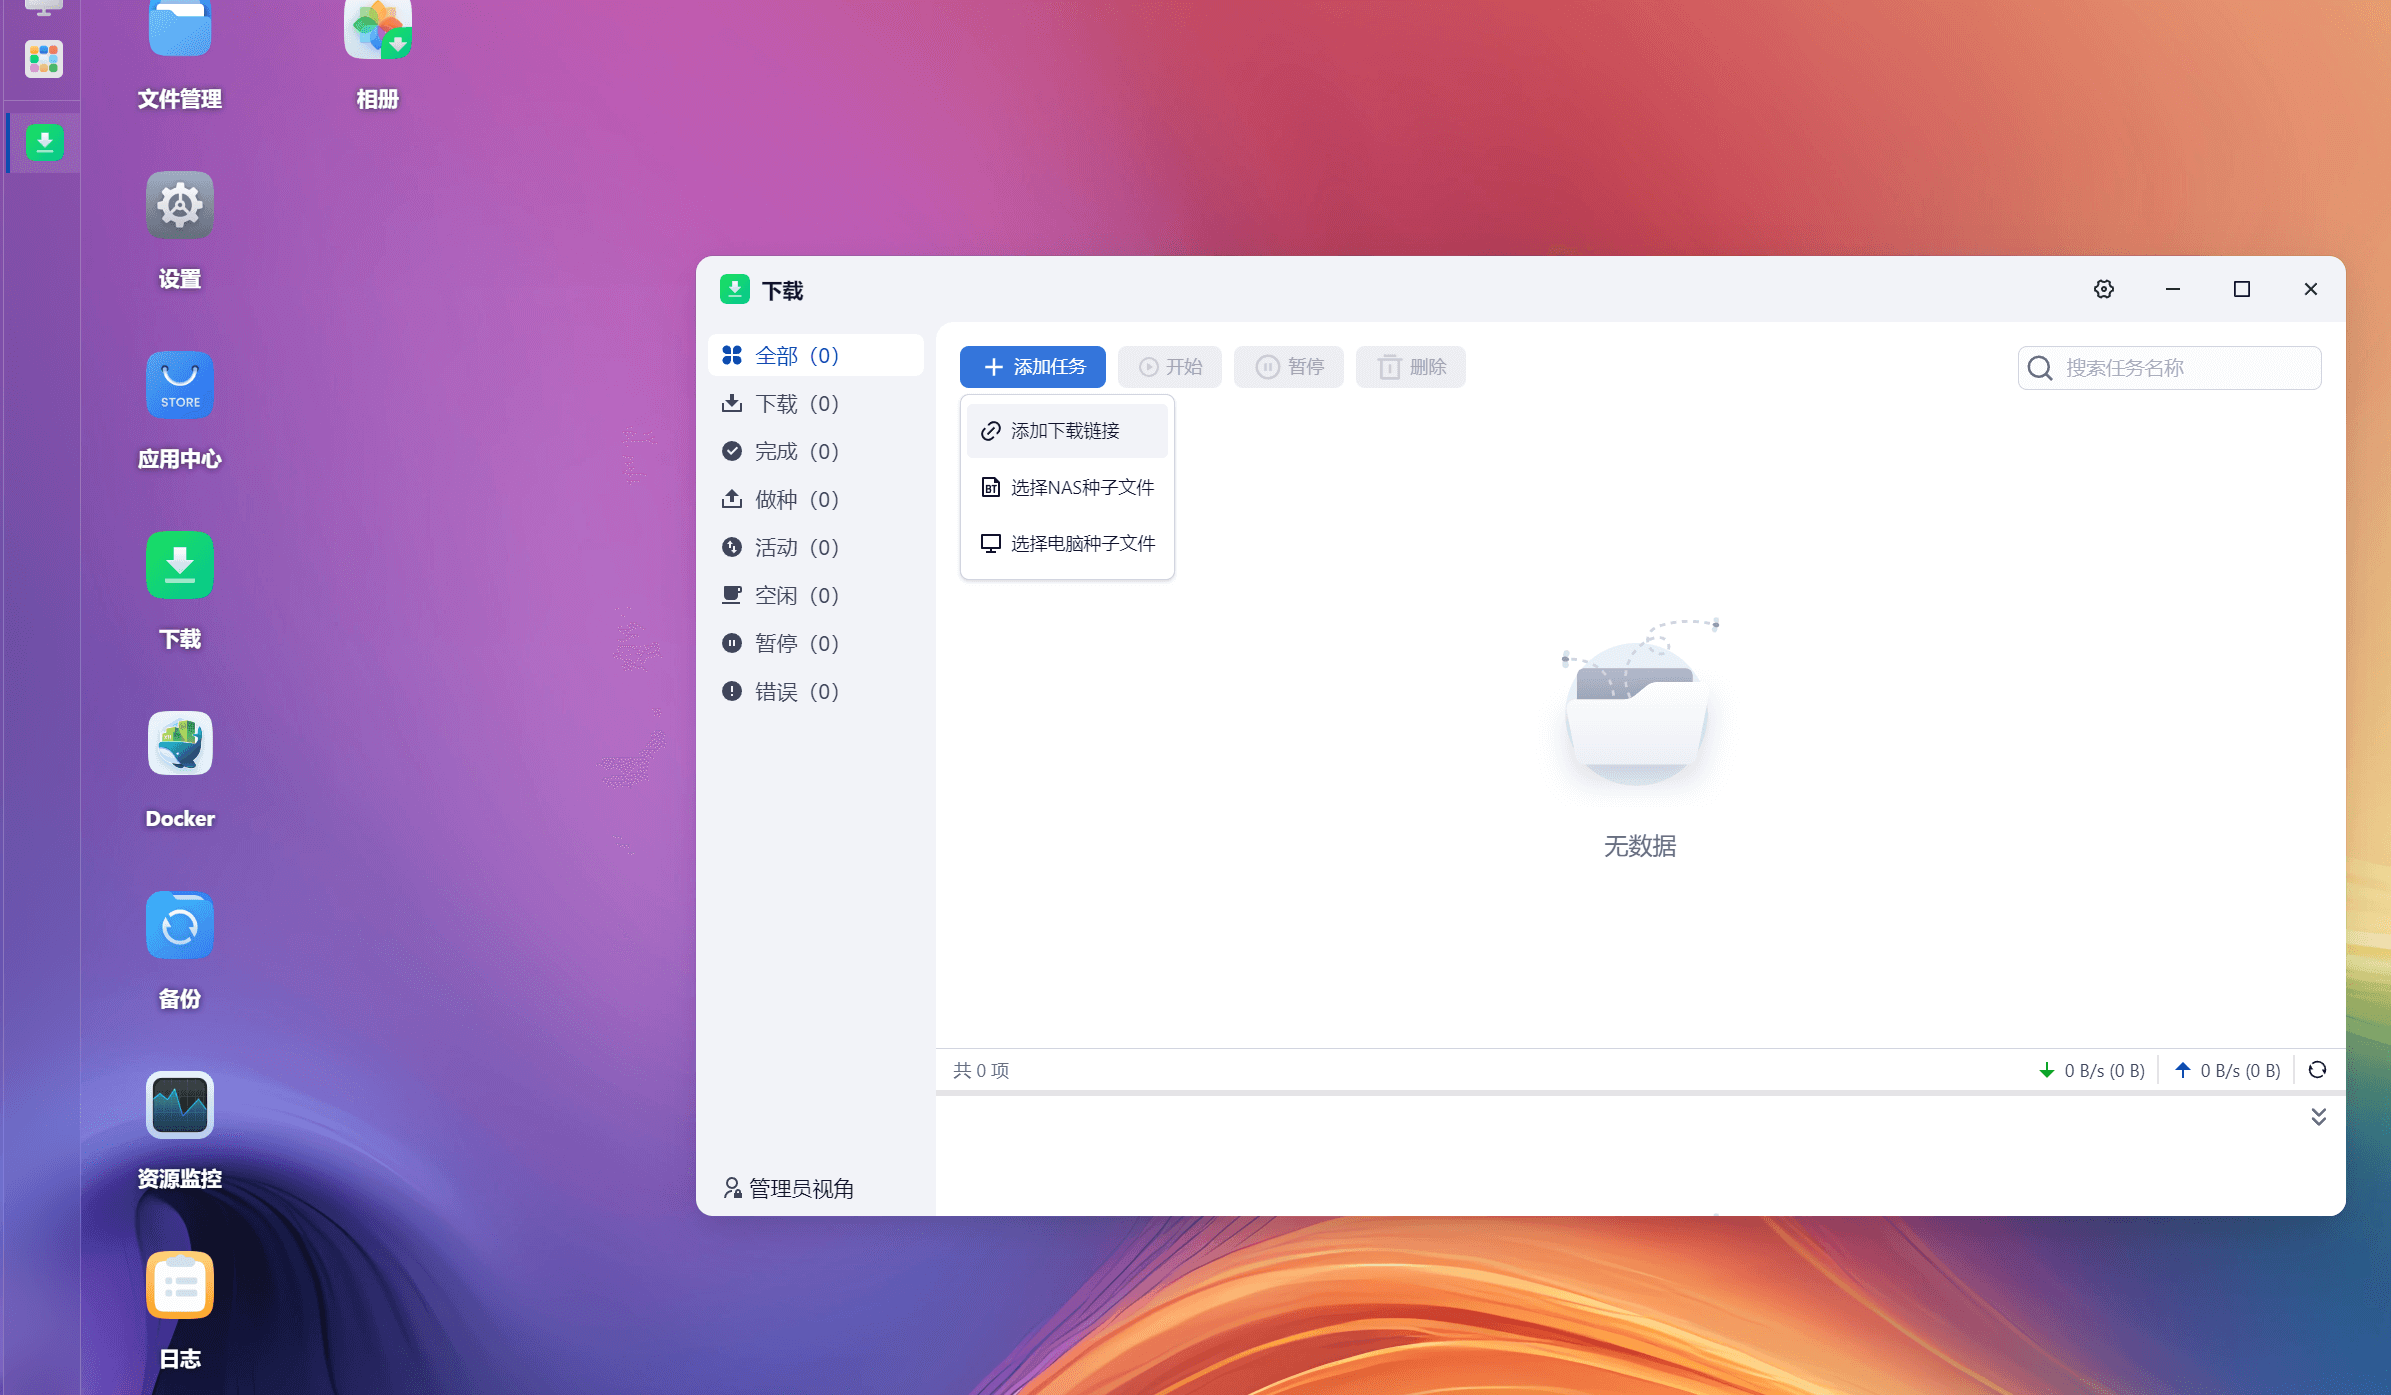
应用中心,下载、看剧APP、BT/PT(慎用哈,可能会涉及版权导致VPS被封)等影音工具一应俱全。
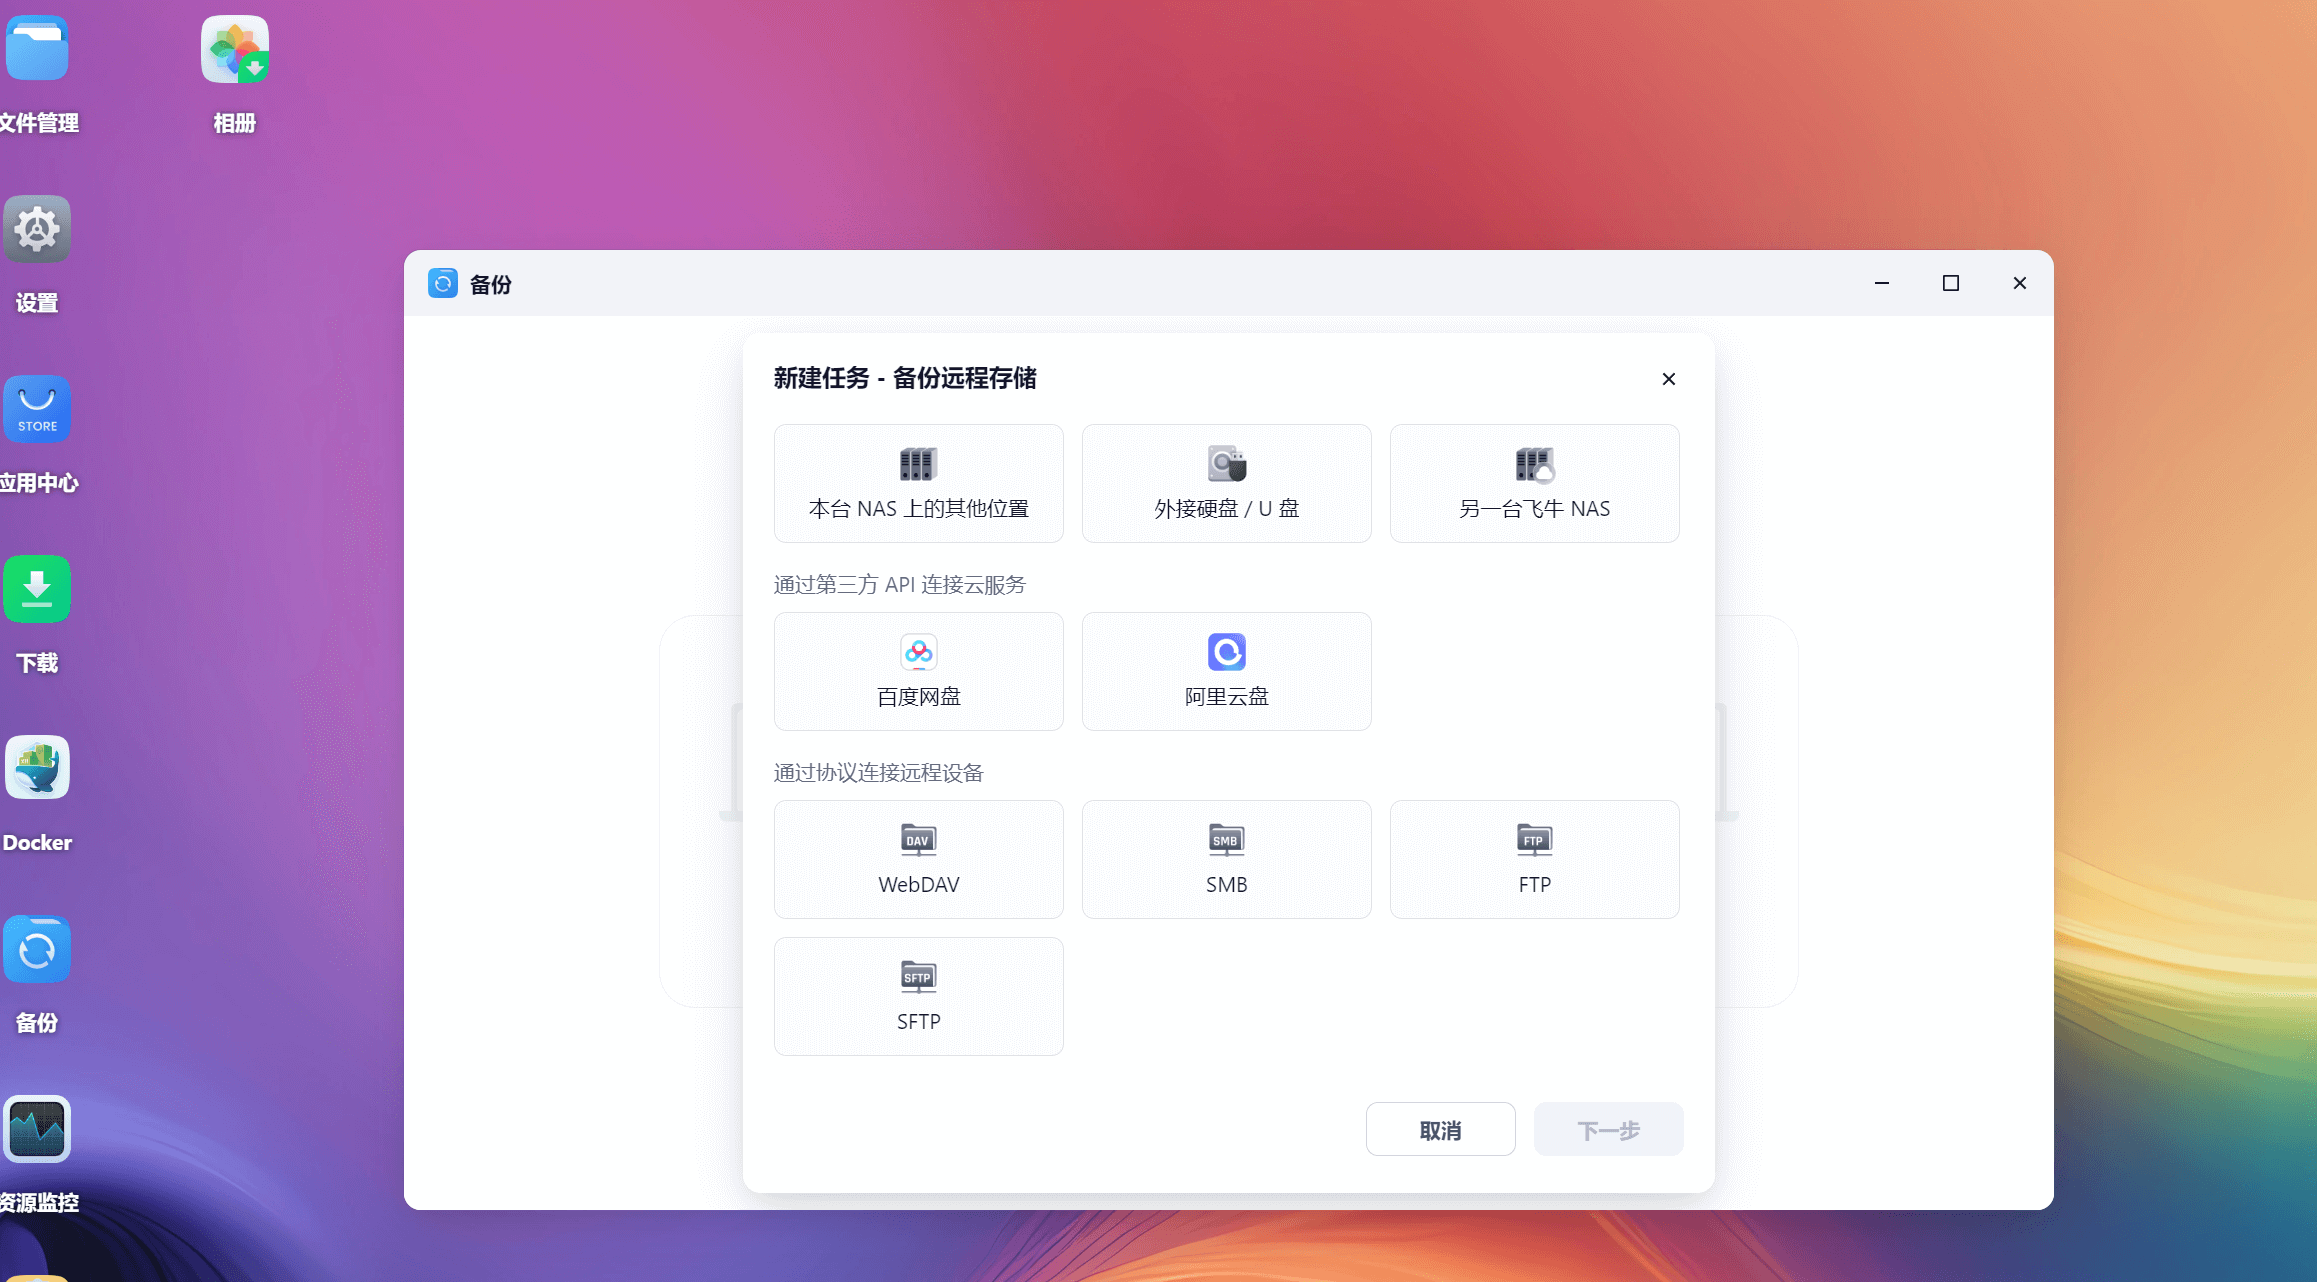
还有备份功能也相当齐全。